I finally finished my Ikea medicine cabinet/first aid kit. If you remember from my initial post about it, it was a salvage from the "as-is" corner of the store, and therefore it had no internal shelves or shelf pins. Simple enough fix, right? Ha. Not so much.

I figured I'd pop right down to Home Depot and pick up some shelf pins. Well, it turned out the shelf pin holes were a totally non-standard size. Shocking, considering this is a piece of Ikea furnishing, right? They were a way, way small size of 1/8".
My dad suggested buying a steel or aluminum rod and cutting it, but neither HD or Lowe's carried those small enough. My hubby suggested cutting pieces off of a wire hanger. Too small. Back to the store I went. We finally found some nails with a 1/8" head, and I decided I could make those work. I don't know what kind of nails these are, but they have a little white "top hat" at the head of the nail. It worked out perfectly, because it extended the amount of the nail that was 1/8" so, put in head first, they fit securely in place.

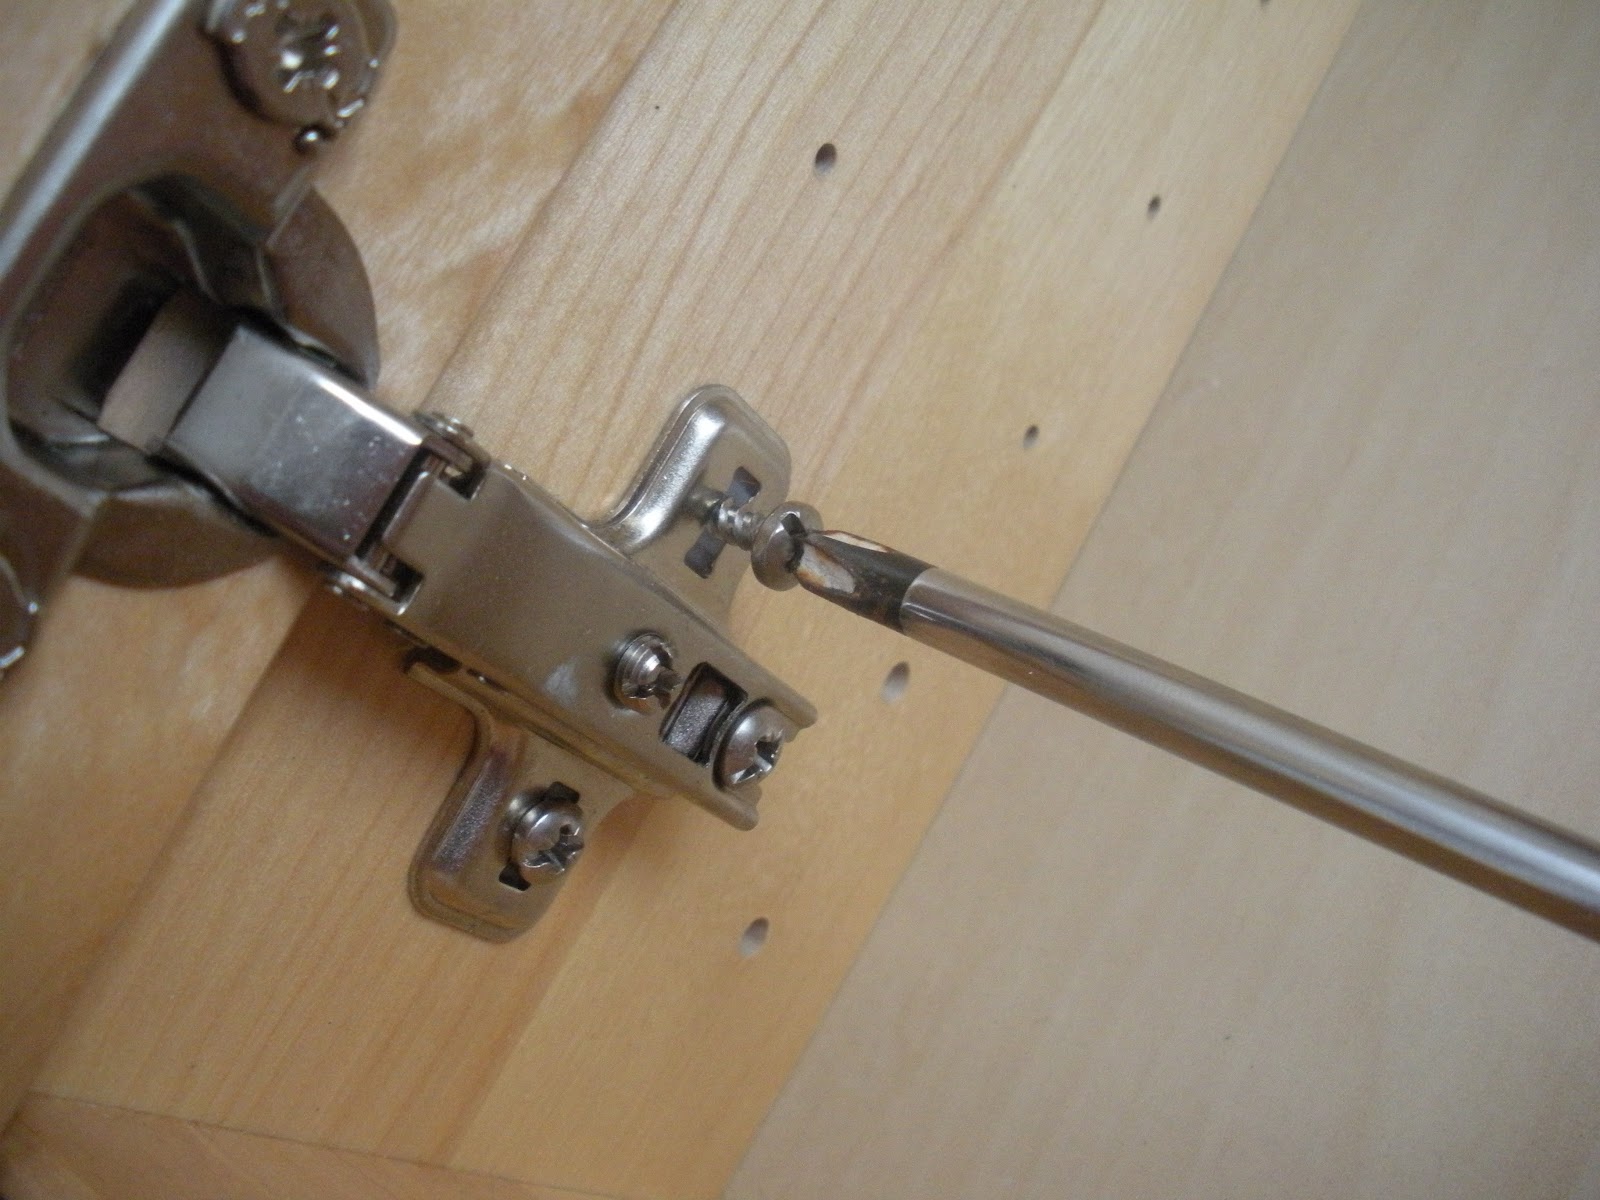
Now that my shelf pin problem was solved, I set out to change the doors. They opened from the right, yet, with the location I was hanging, I needed doors to open on the left. After careful inspection, I noticed that Ikea had cleverly left spaces on both sides of the cabinet, so you could configure the doors however you wanted. I found holes on the exact opposite side of the cabinet from where the hinges were currently mounted. You can see (circled below) that they are bigger than the shelf pins, which is how I knew what they were:

I easily unscrewed the hinges where they were attached to the side of the cabinet, pried out the plastic insert using a flat blade screwdriver, stuck it in the other side, flipped the door, and screwed it back in. I then repeated with the top door. With this one I had to make sure there was a spot for the lock to swing into, and luckily there was, otherwise I would have had to get the hubs to route out a spot.

I then used a very legit measuring device to determine my shelf placement.

And, using needle nose pliers for leverage and grip, I shimmied the nails into place. It was a pretty tight fit, so I don't think I'll be adjusting the shelves anytime soon. I used 4" wide, thin pieces of aspen (probably about 1/4") to create shelves.
I found a first aid kit at Sam's Club for under $20, and removed the contents to put into my first aid kit. I put loose items like the individual antiseptic wipes, q-tips, gauze, single packets of things like pain reliever, antibiotic ointment and burn relief cream into Really Useful Boxes that I got at Office Depot. I LOVE Really Useful Boxes because they are cute, durable, and come in lots of sizes and colors. I also picked up some cork tiles for inside the lower cabinet door. The cork board can be used for emergency numbers, or important instructions or contacts for the kids, or a pet or house sitter (or a baby sitter for those of you with little ones). A Command hook holds scissors and tweezers.


Again, since this was an as-is item, it did not have any hanging hardware, but it did have two nickel sized, metal-reinforced holes in the back, through which I guessed it was supposed to hang. I picked up some toggle bolts, and washers (since the holes were WAY bigger than the heads of the bolts), and drilled holes into the sheetrock (after using a stud/electrical finder to determine there was nothing of importance behind where I was hanging). Toggle bolts are good when you can't mount something to studs. Just follow the instructions on the packet or - thread the bolt through the washer, then through the hole inside the cabinet, then screw the toggle on the bolt (behind the cabinet). Squeeze together the toggle, insert into the hole in the drywall all the way, then tighten the bolts.
Since the top locks, it's the perfect place for cold medicine or prescription medications. My cabinet is high enough that any little hands that might be over can't reach it anyway, but just to be safe, it's there if we need it. I positioned the cabinet in the laundry "room" - which is really a closet - since it's centrally located between the garage, kitchen, and backyard/pool - where most boo-boos tend to happen.


Seeing it next to my white laundry cabinets, makes me want to paint it and get matching knobs for all the doors. Hmm...

No comments:
Post a Comment